In this guide you will learn how to request an upgrade for your VPS.
You will need to have all your invoices paid before you can request an upgrade.
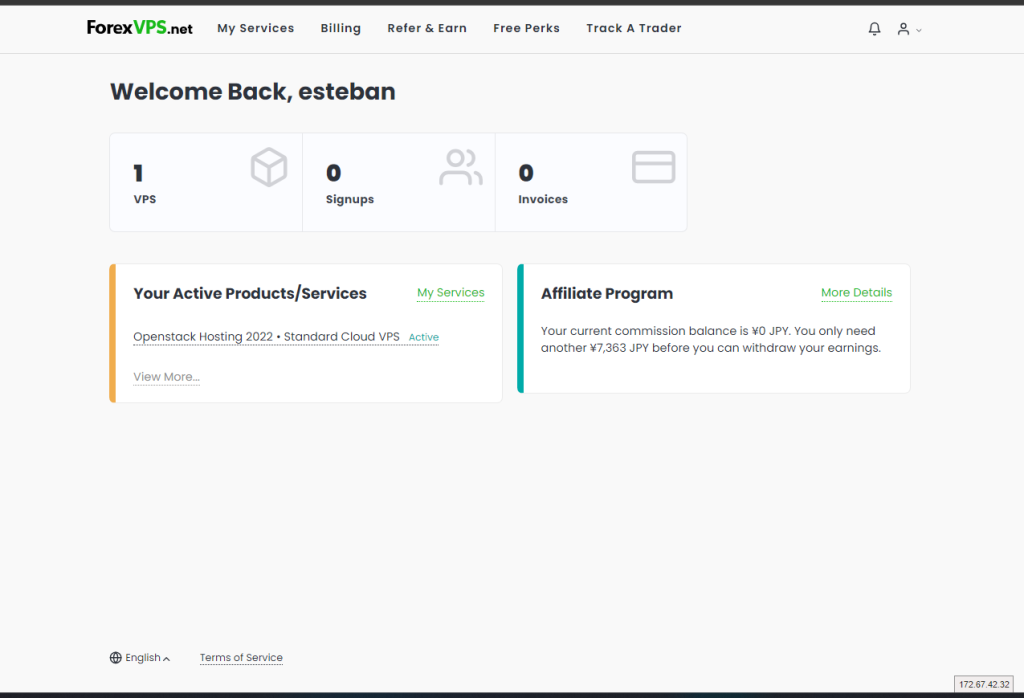
1. Go to your Client Area.
2. Click on “ My Services”.
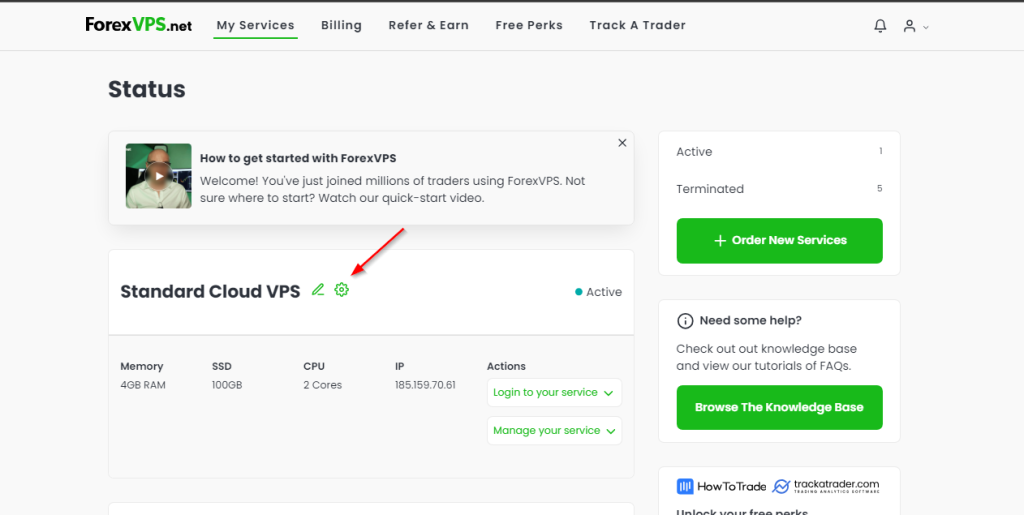
3. Find the VPS that you want to upgrade and click on the gear icon beside its name.
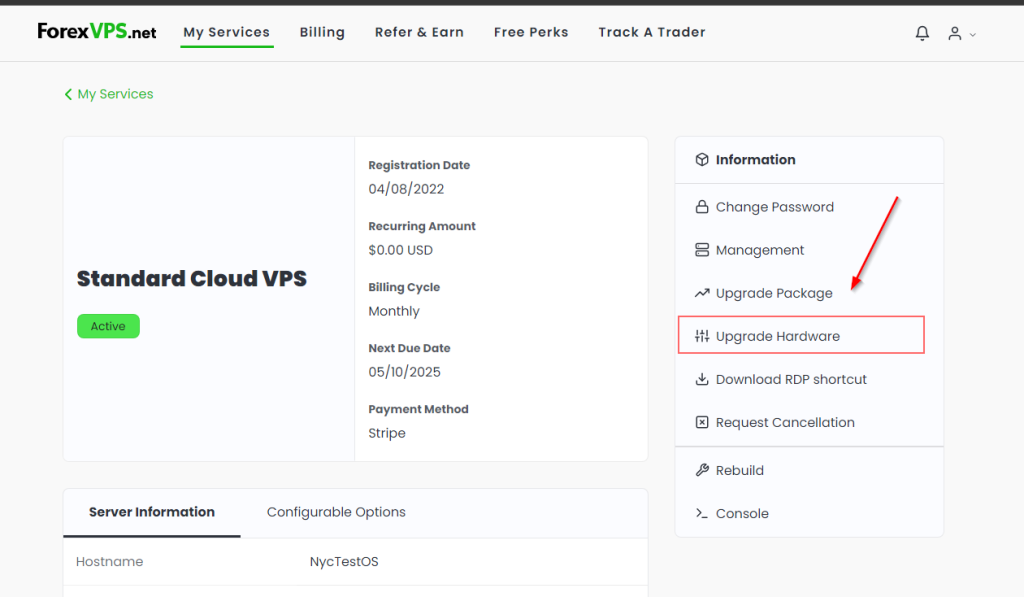
4. Click on the “Upgrade” button under the Information list.
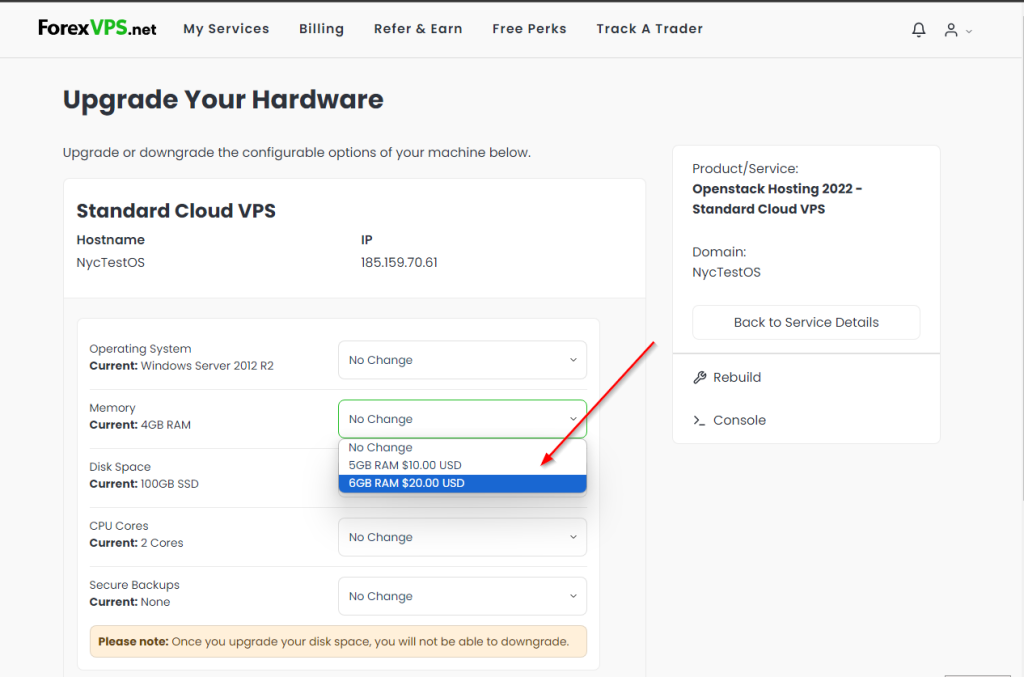
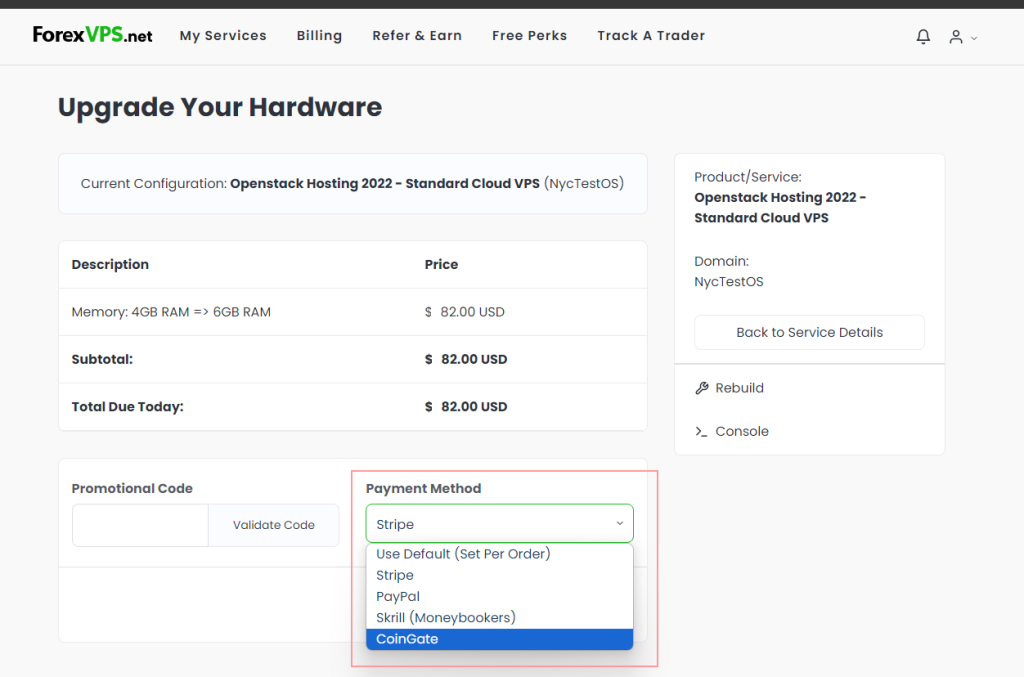
5. Select the upgrade that you want to apply to your VPS, in this case we’ll be upgrading to 6GB ram.
Note: The max allowed resources allocation for our VPS is 6GB RAM, 4 Cores, and 100GB SSD disk space
6. Select your payment method and continue by clicking on “Click to Continue >>.”
Proceed to pay the invoice. An email confirmation of the payment should arrive.
- Cloud VPS upgrades are triggered automatically once the invoice is paid,
- It takes at least 15 minutes for the upgrade to take effect
- The VPS will be rebooted during the upgrade process. Make sure that you save any open work before you cover the invoice. But if you’re running a forex robot or just trading forex on the VPS and don’t want to reboot it, contact your customer care rep to schedule the upgrade for a later time when the markets are closed.
If you have any further questions, contact us via Live Chat or at support@forexvps.net.