You can transfer files between your local computer and your ForexVPS by mapping your local drives inside Remote Desktop Connection before connecting. This guide walks you through the Local Resources settings that make your computer’s drives accessible from within your ForexVPS.
Before you start: You must configure drive sharing before connecting — these settings can’t be changed once the Remote Desktop session is already active.
What you’ll need
- Remote Desktop Connection installed on your local computer
- Your ForexVPS IP address and port
- Your ForexVPS username and password
Part 1: Open connection settings
Step 1: Open Remote Desktop Connection
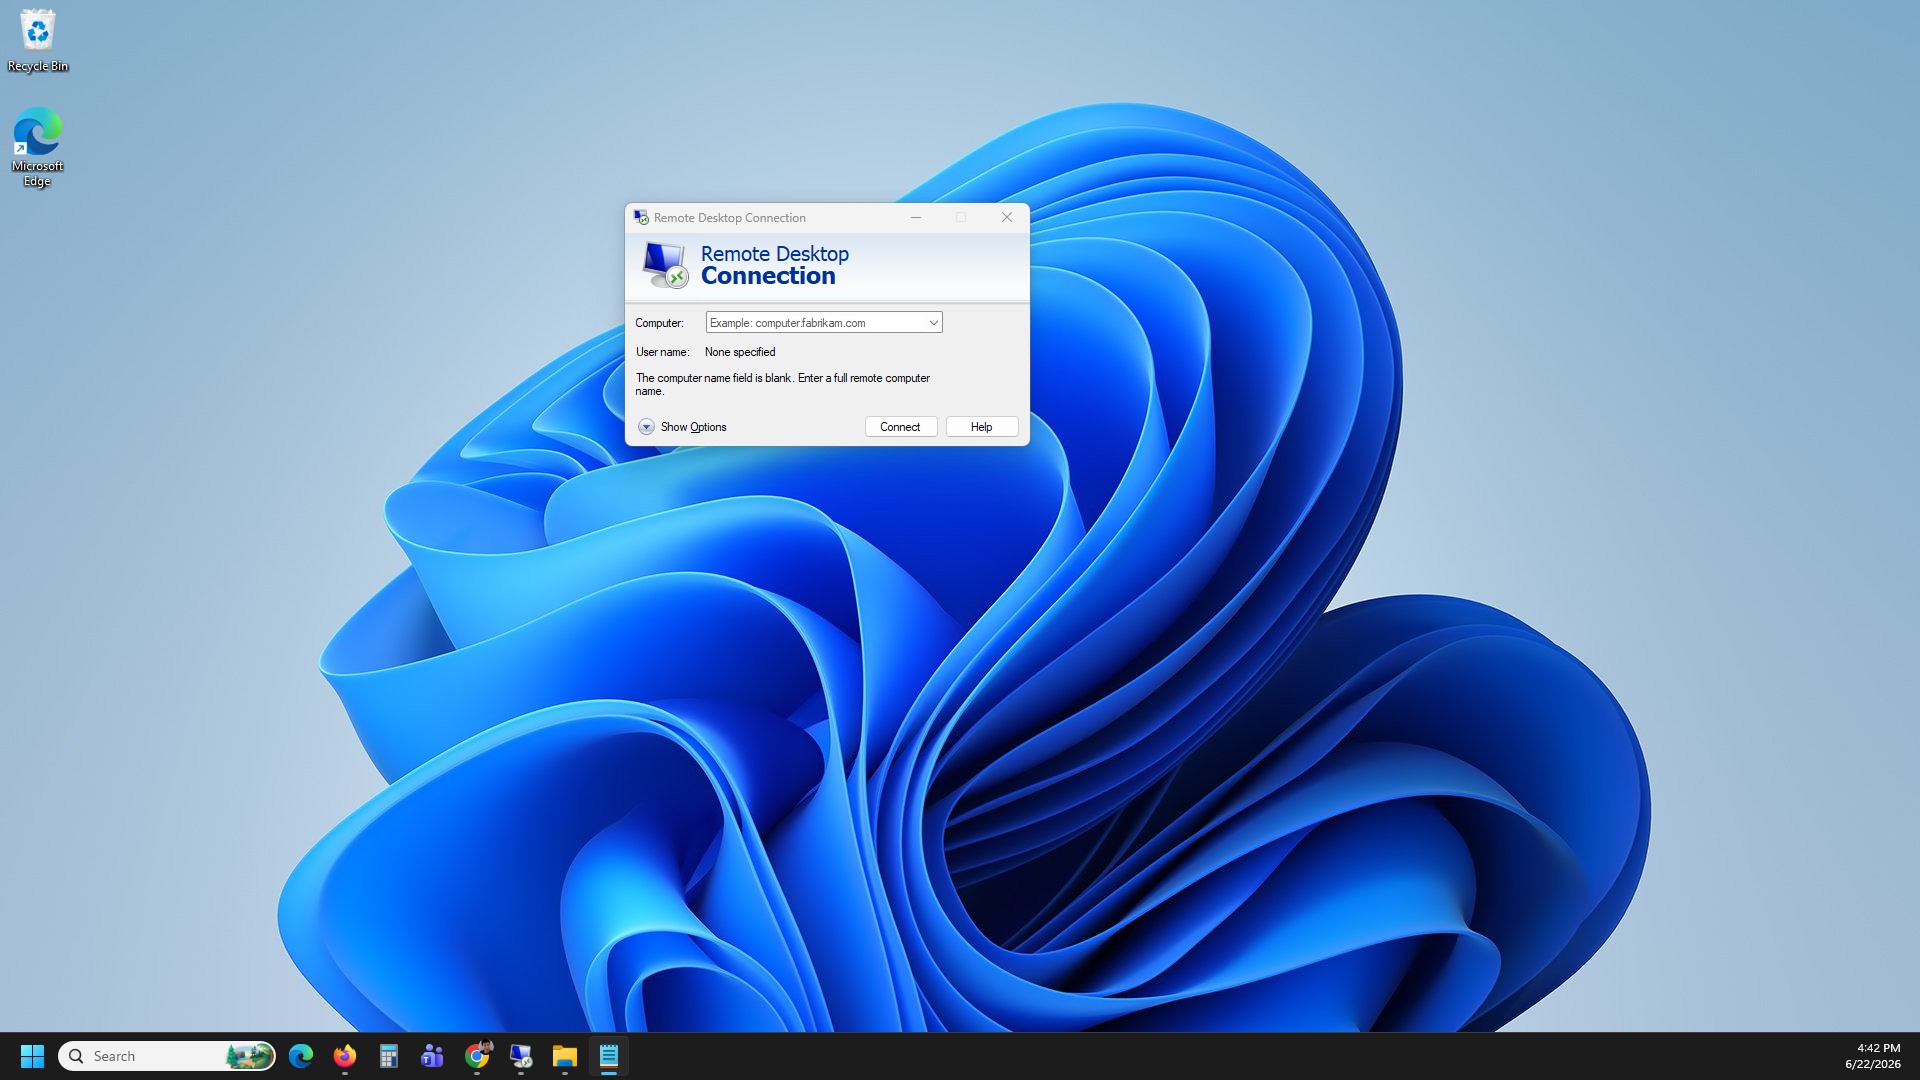
Open your Remote Desktop Connection app on your local computer.
Step 2: Enter your ForexVPS IP and port
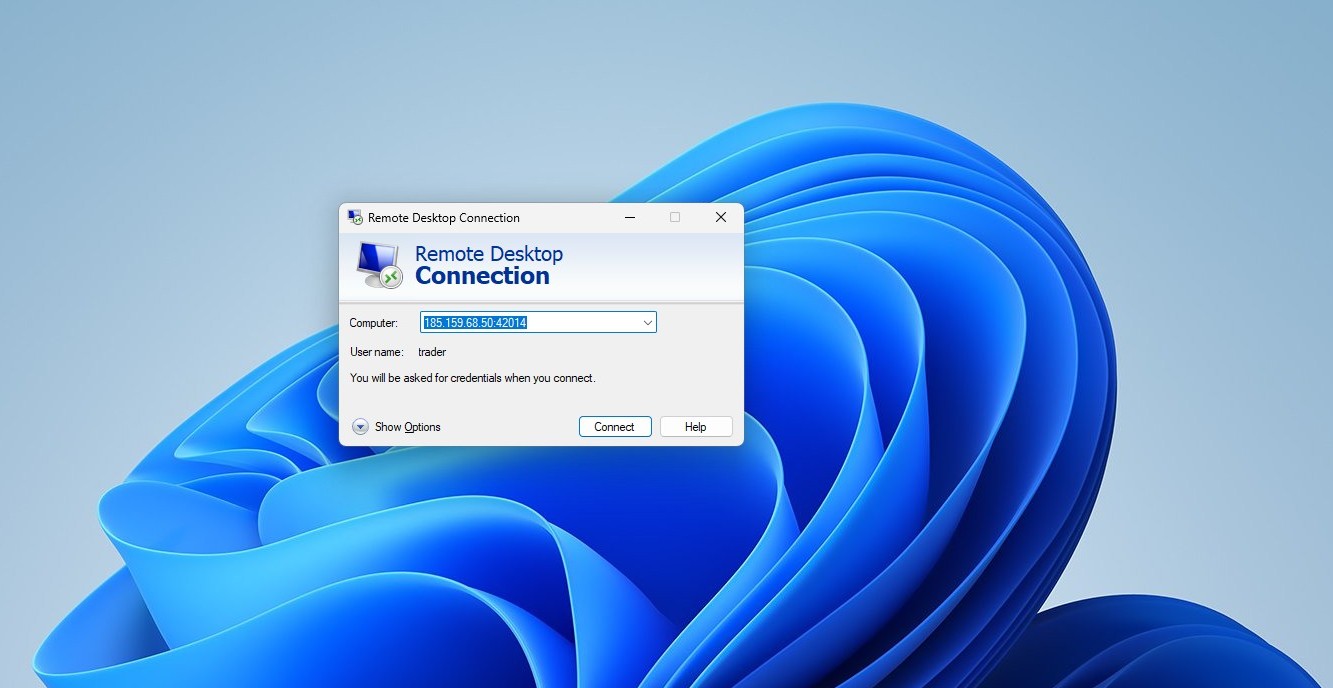
Type your ForexVPS IP and port in the Computer field.
Step 3: Click Show options
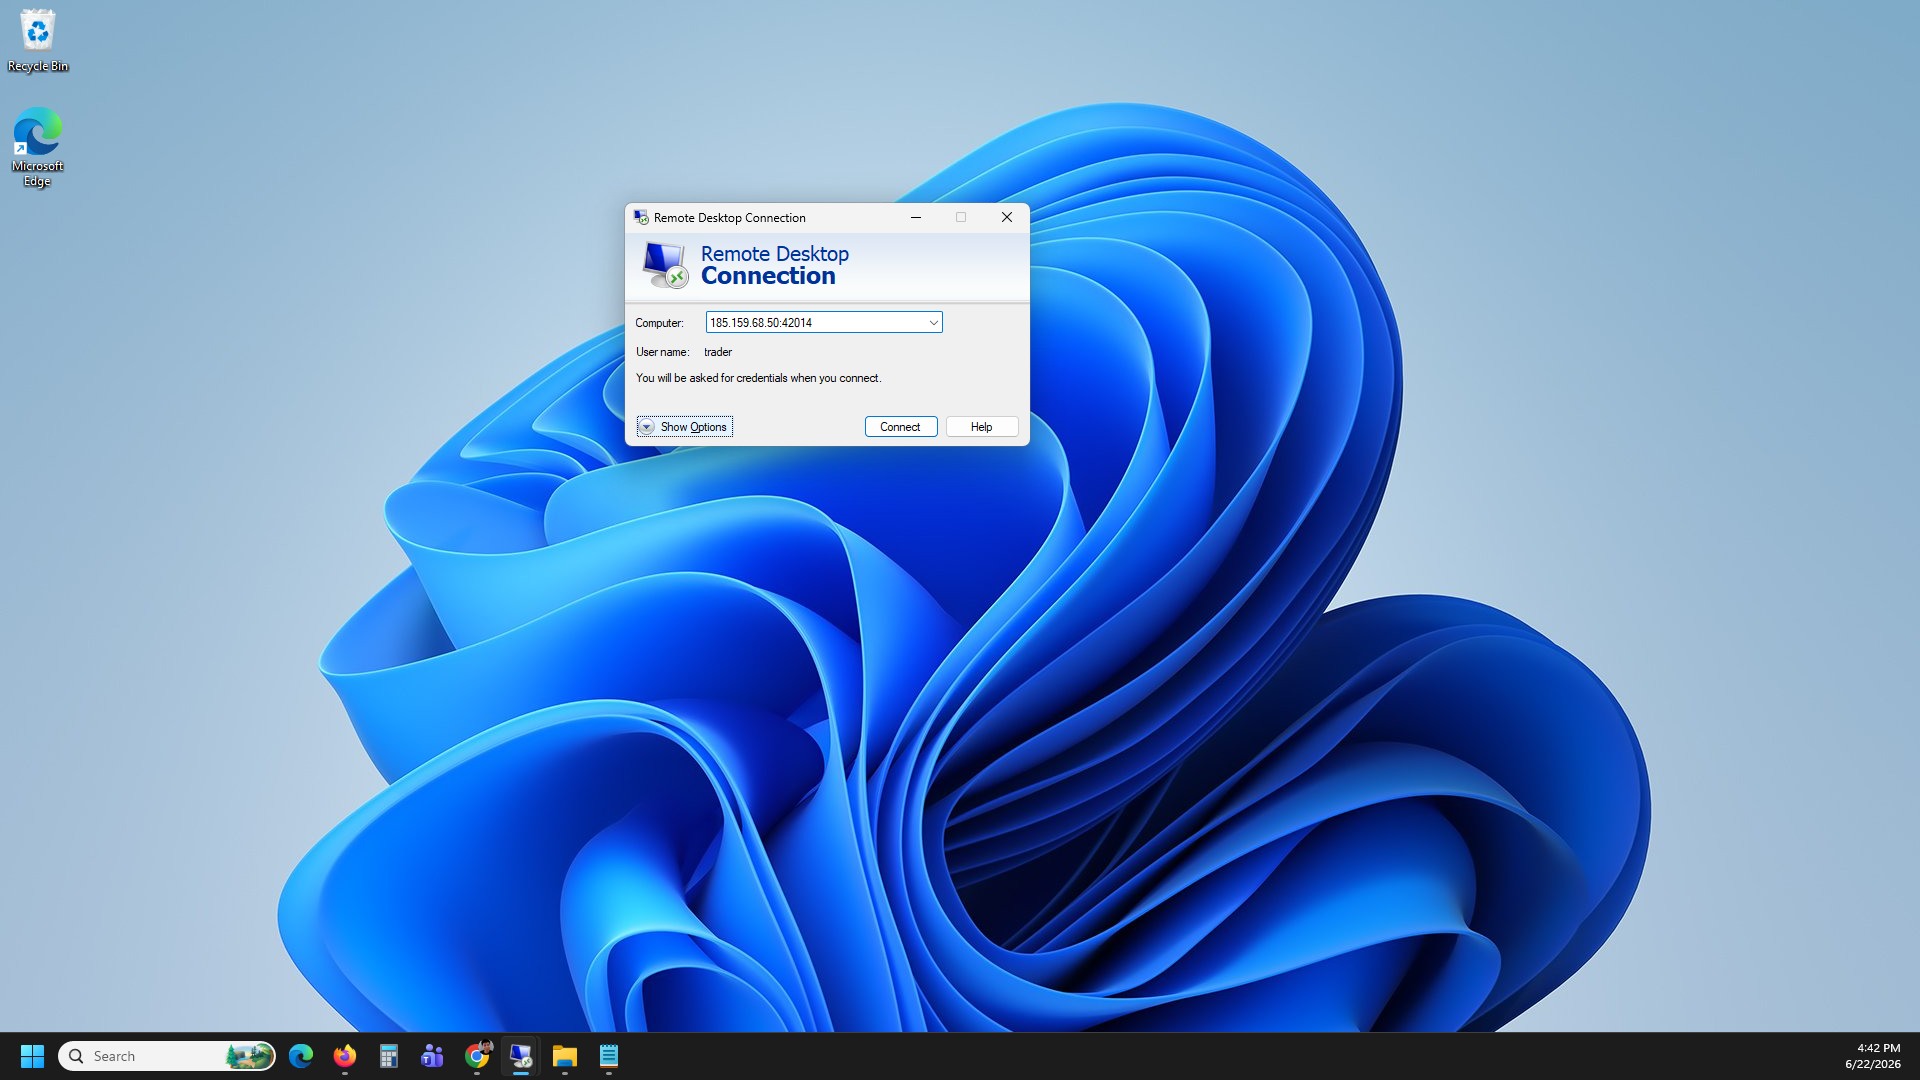
Click Show options to expand the connection settings.
Part 2: Enable local drive sharing
Step 4: Open Local Resources and click More
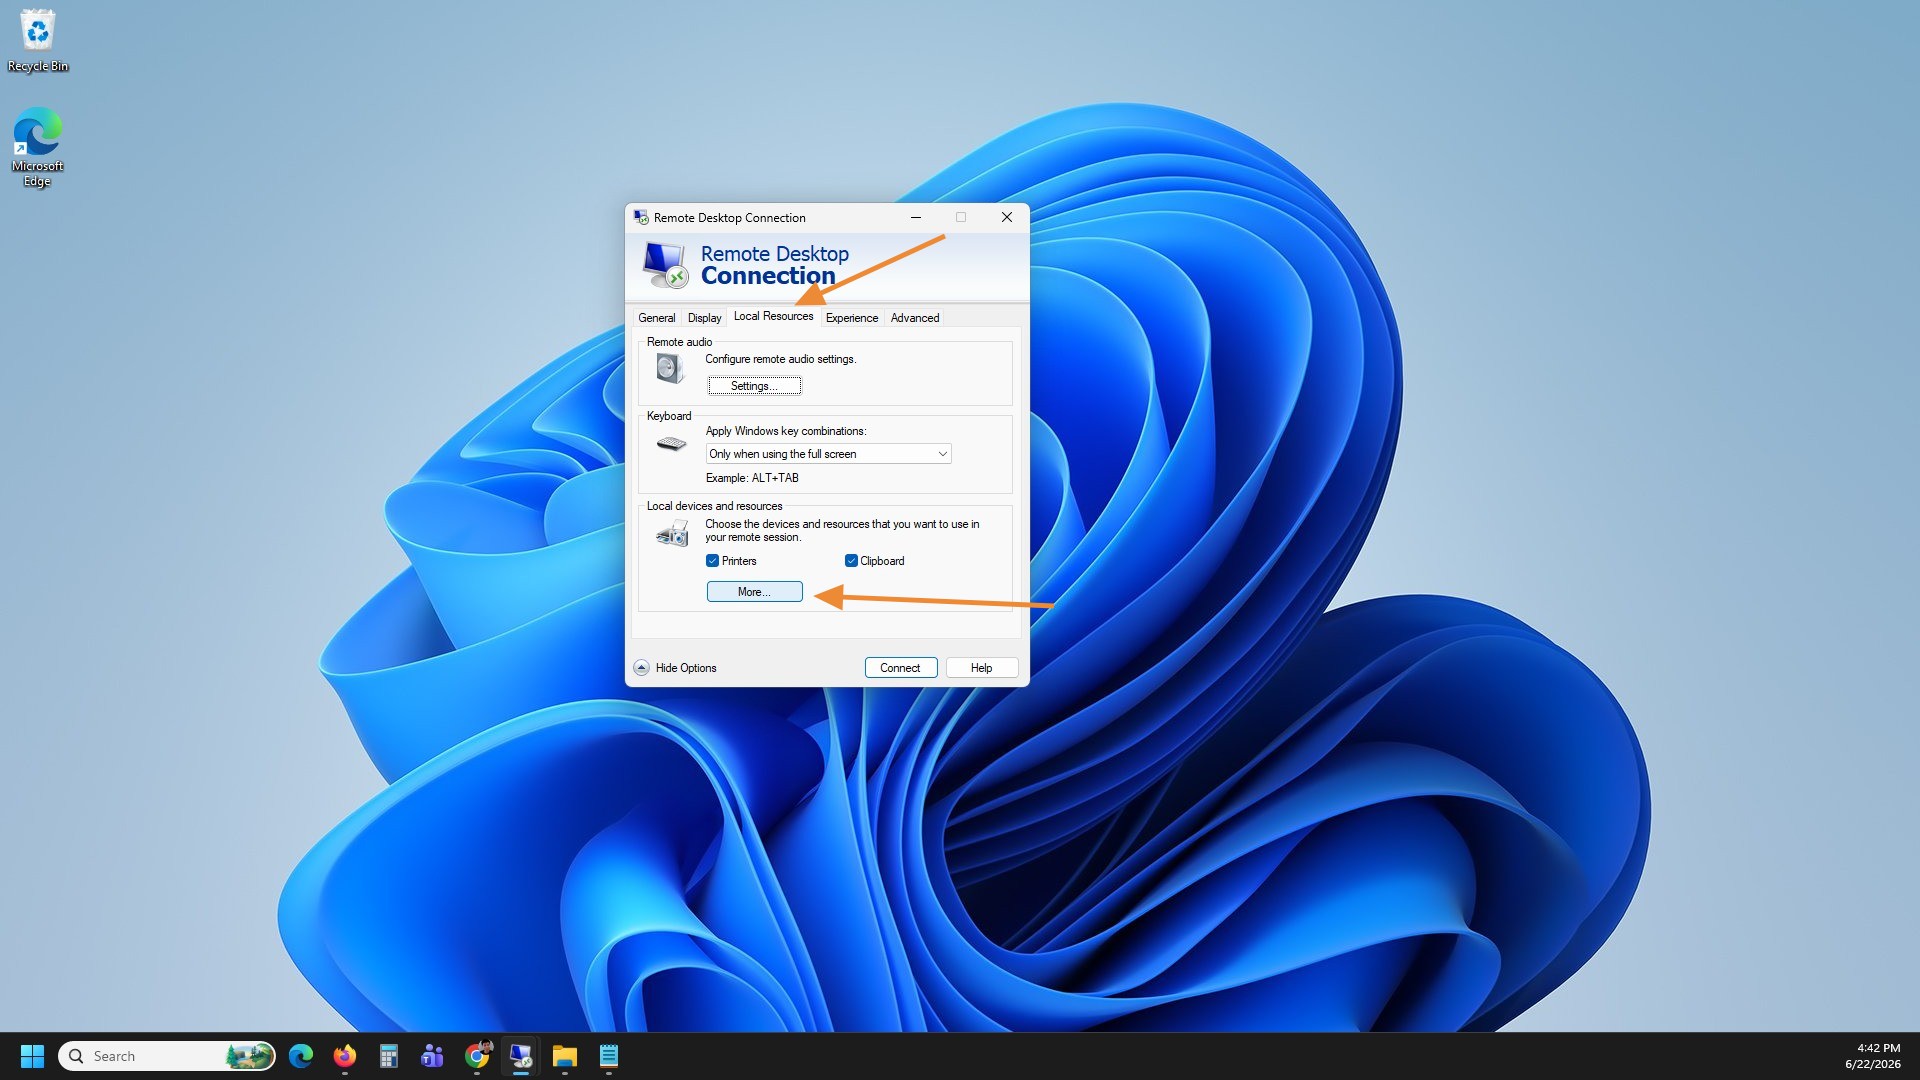
Navigate to the Local Resources tab, then click More… to see the full list of local devices and resources you can share.
Step 5: Enable Drives sharing
Click the + button beside Drives, then check the box for Drives to share your local storage during the session.
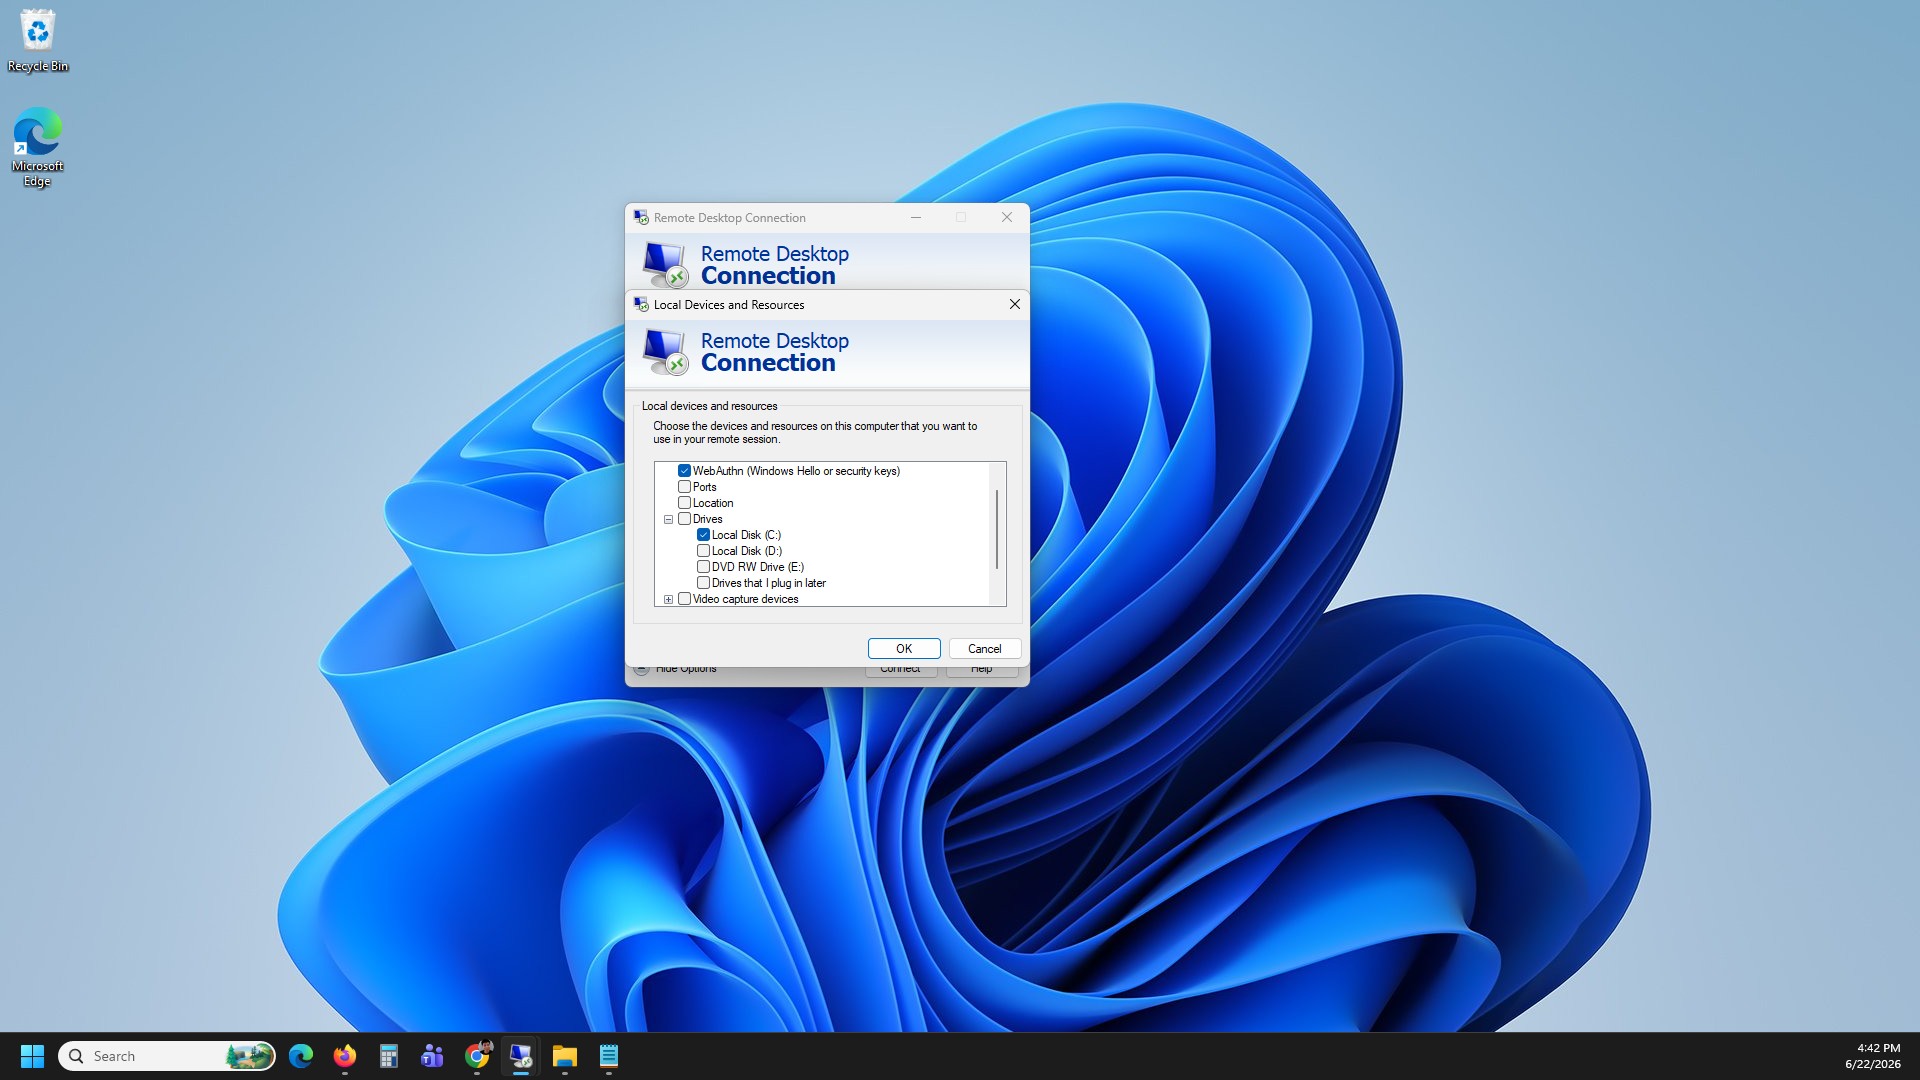
Step 6: Confirm your selection
Click OK to confirm your drive sharing selection.
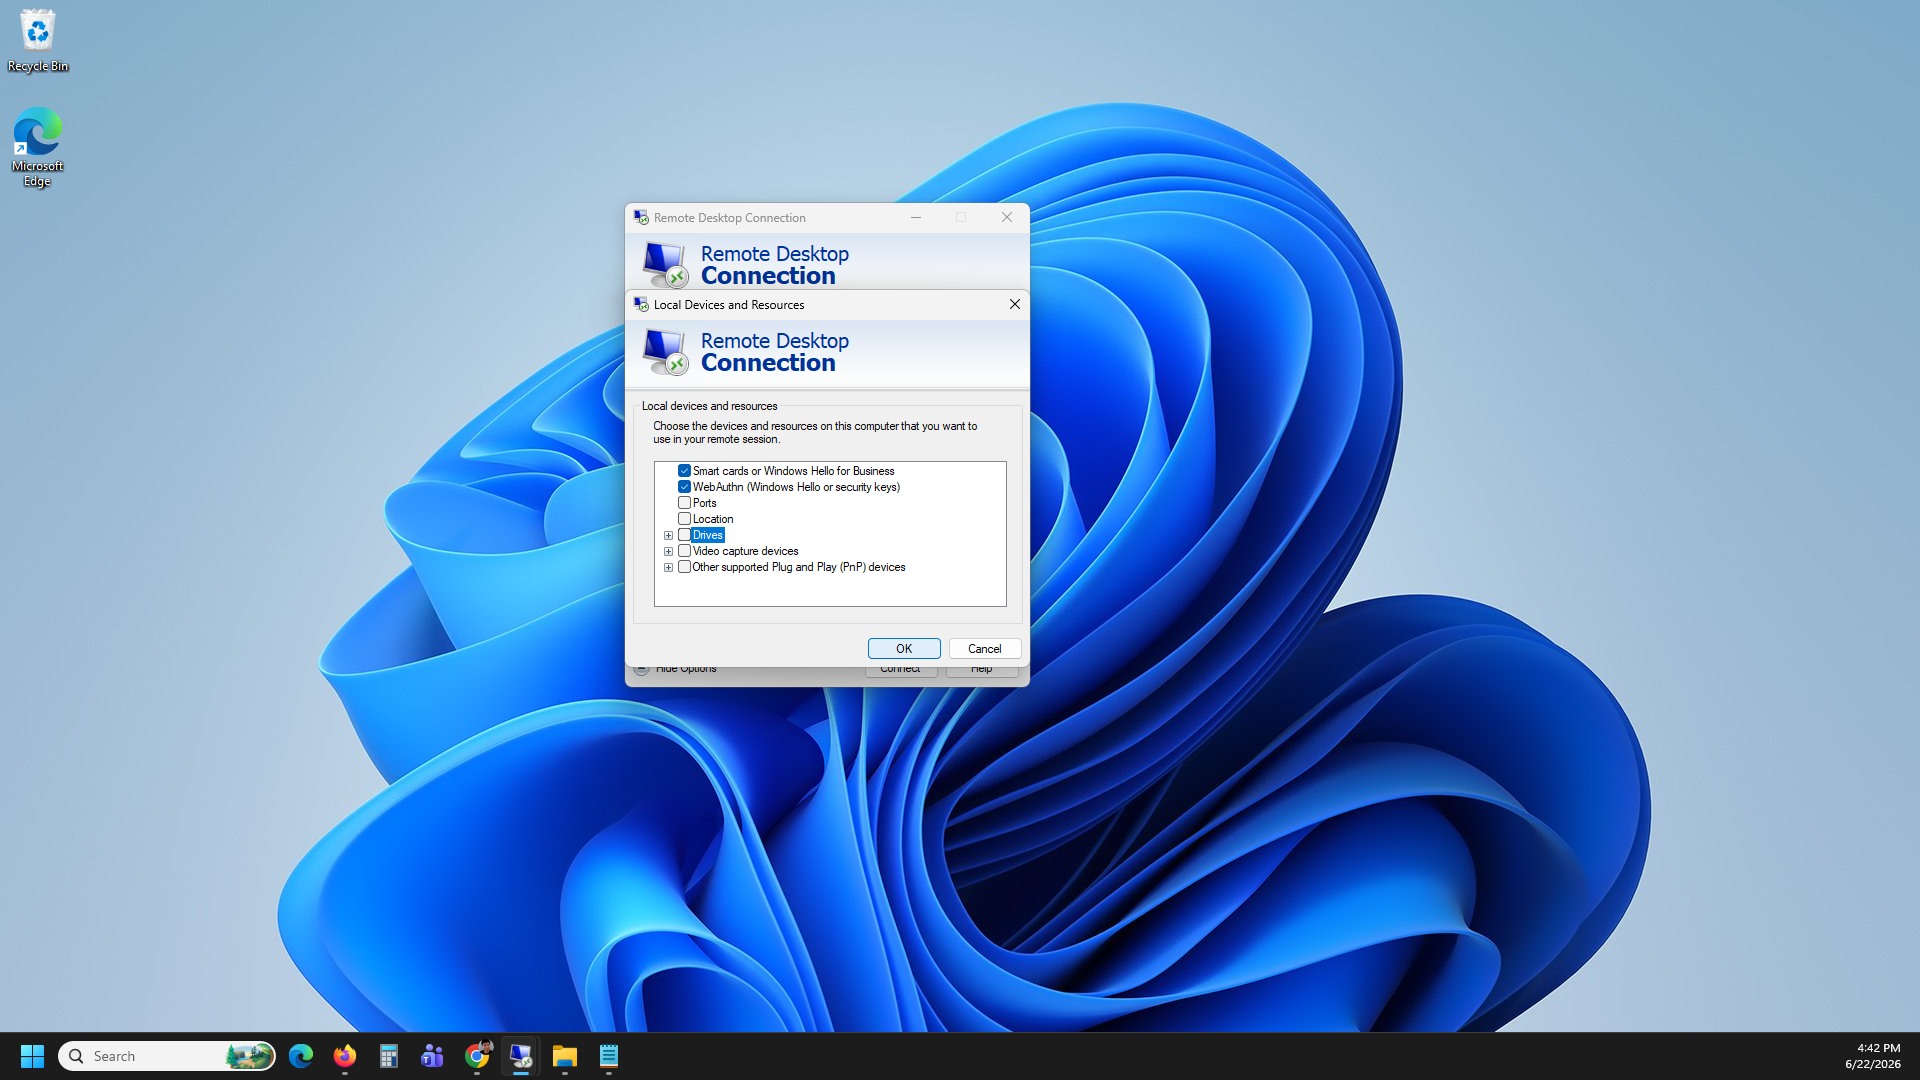
Step 7: Connect to your ForexVPS
Click Connect to initiate the remote session. Once connected, your local drives appear inside your ForexVPS under This PC in Windows Explorer, letting you drag and drop files between your computer and your ForexVPS.
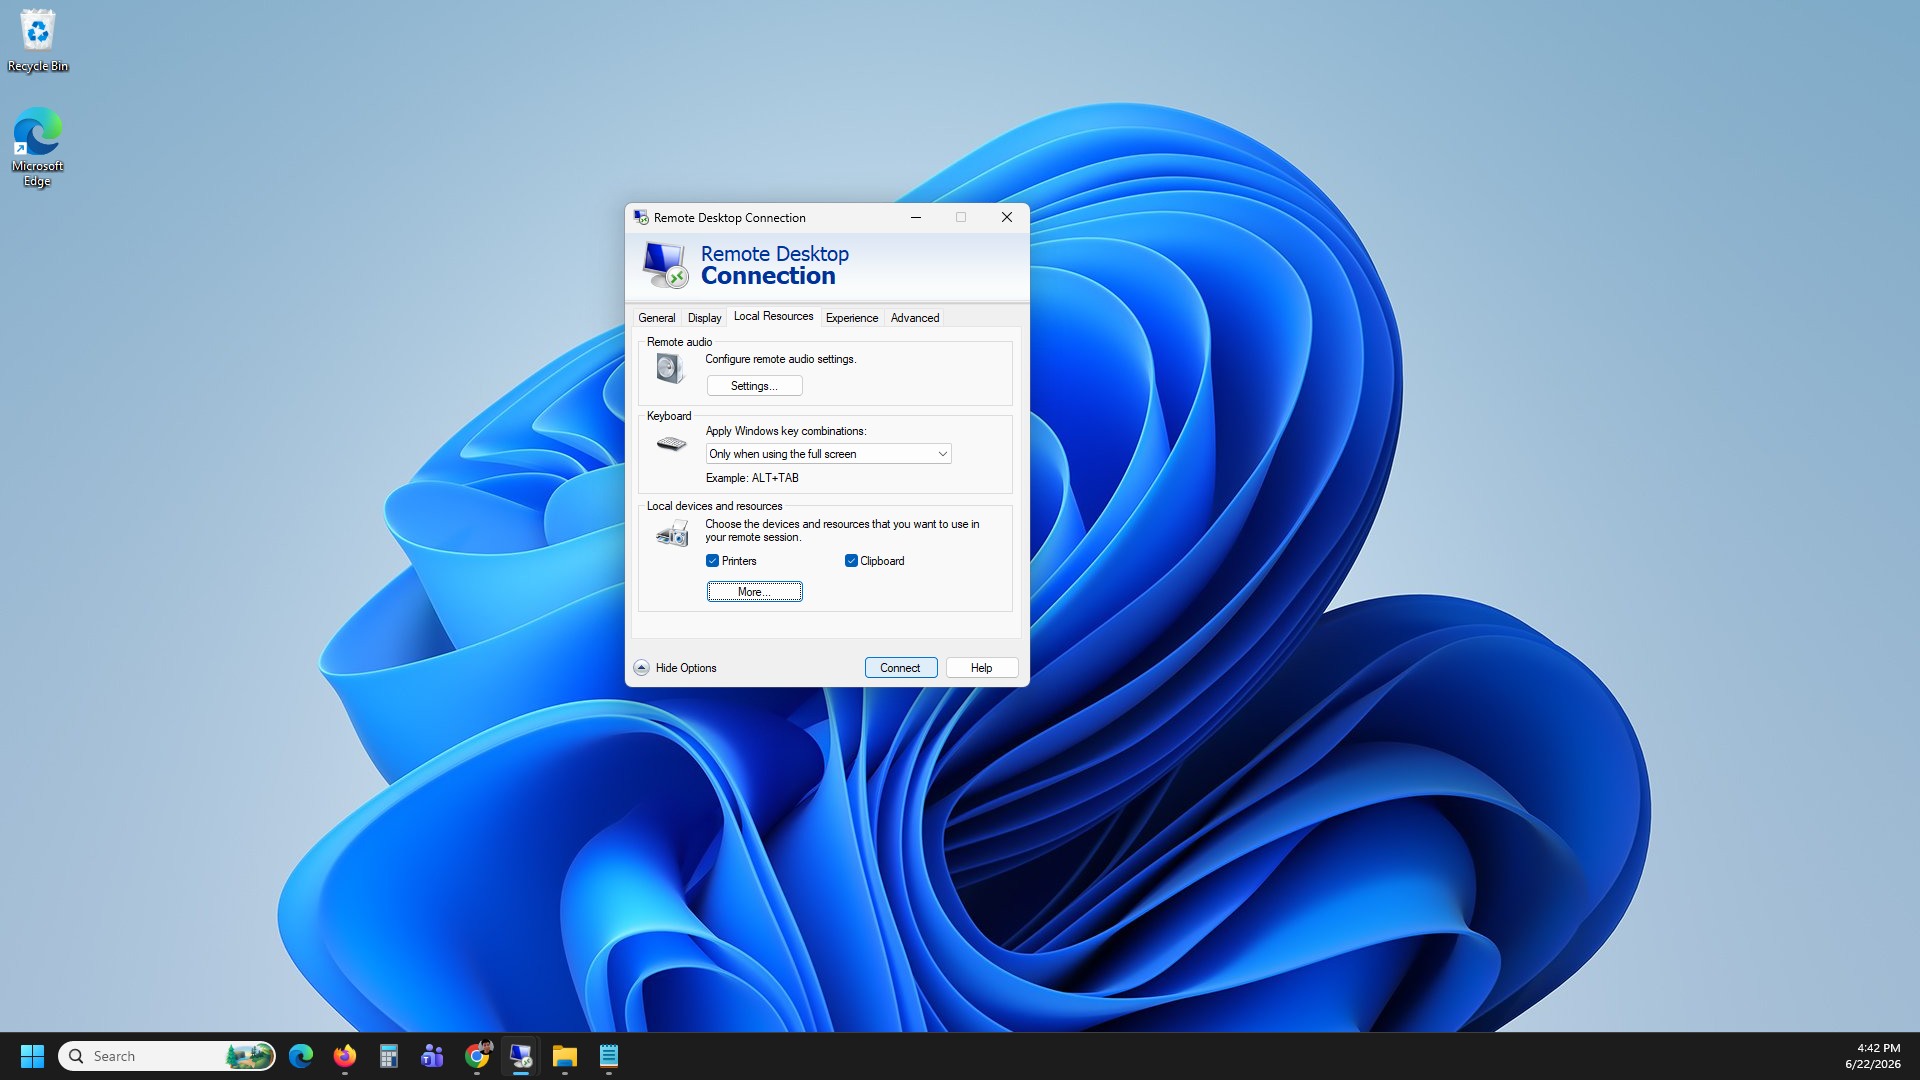
Troubleshooting RDP file transfers
If drive sharing isn’t working as expected, check these common fixes.
| Problem | Likely cause | Fix |
|---|---|---|
| Local drives don’t appear inside your ForexVPS | Drive sharing enabled after connecting | Disconnect, re-enable Drives under Local Resources before clicking Connect again. |
| “More…” button is missing | Show options not expanded | Click Show options first, then navigate to the Local Resources tab. |
| Can’t find shared drives in File Explorer | Looking in the wrong location | Open This PC inside your ForexVPS — shared drives appear as separate mapped drives there. |
Frequently asked questions about transferring files with RDP
Still have questions about mapping drives or moving files over Remote Desktop? Find quick answers below.
Can I transfer files after I’ve already connected to my ForexVPS?
No. Drive sharing must be enabled in Local Resources before you click Connect. If you’re already connected, disconnect and reconfigure the setting first.
Where do my shared drives appear inside my ForexVPS?
Your local drives appear under This PC in Windows Explorer inside your ForexVPS, listed as mapped network drives alongside your ForexVPS’s own storage.
Can I share a specific folder instead of an entire drive?
The Drives option shares entire local drives. To limit access, use a specific folder shortcut or a cloud storage sync folder instead of enabling full drive sharing.
Is this the fastest way to move large files to your ForexVPS?
For occasional transfers, mapped drives work well. For very large or frequent transfers, a dedicated file transfer tool or cloud storage sync may perform better over Remote Desktop.
Related articles
- How to log in to Remote Desktop on Windows — ForexVPS setup guide
- How to properly disconnect from your ForexVPS
- How to change your VPS password